

Submitted by Joel on Sun, 08/26/2018 - 17:48
Forums:
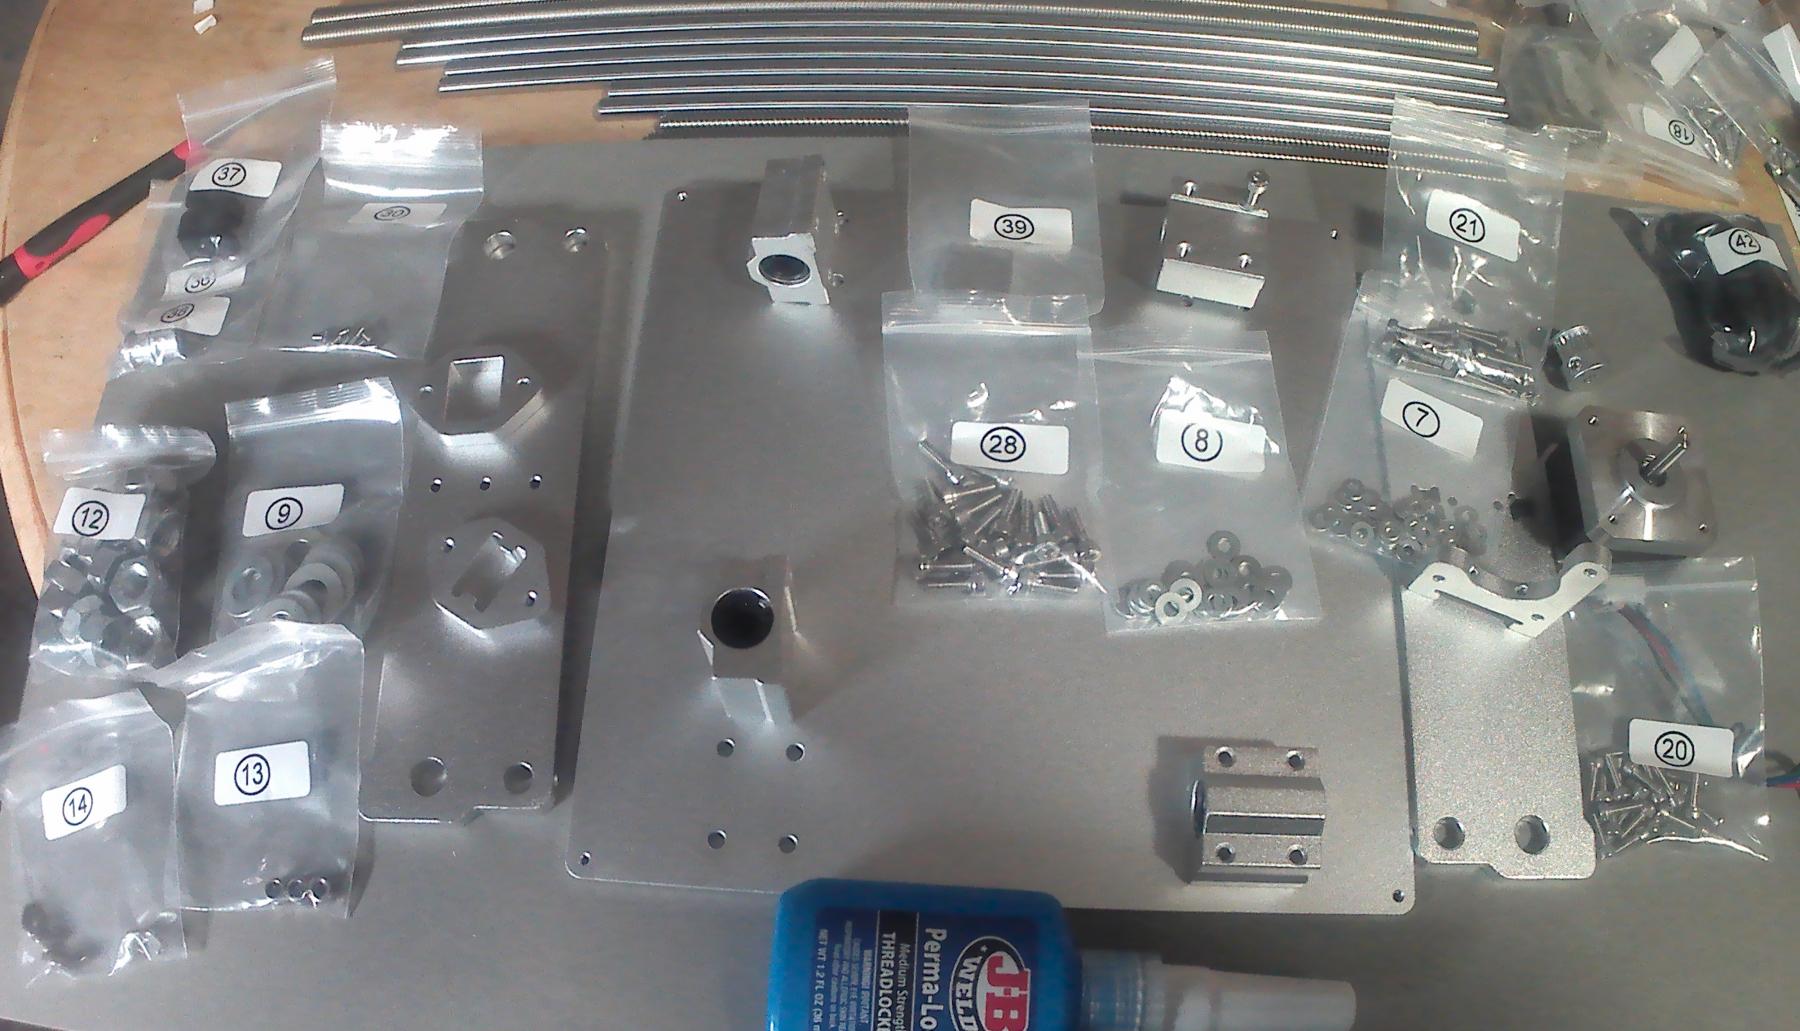
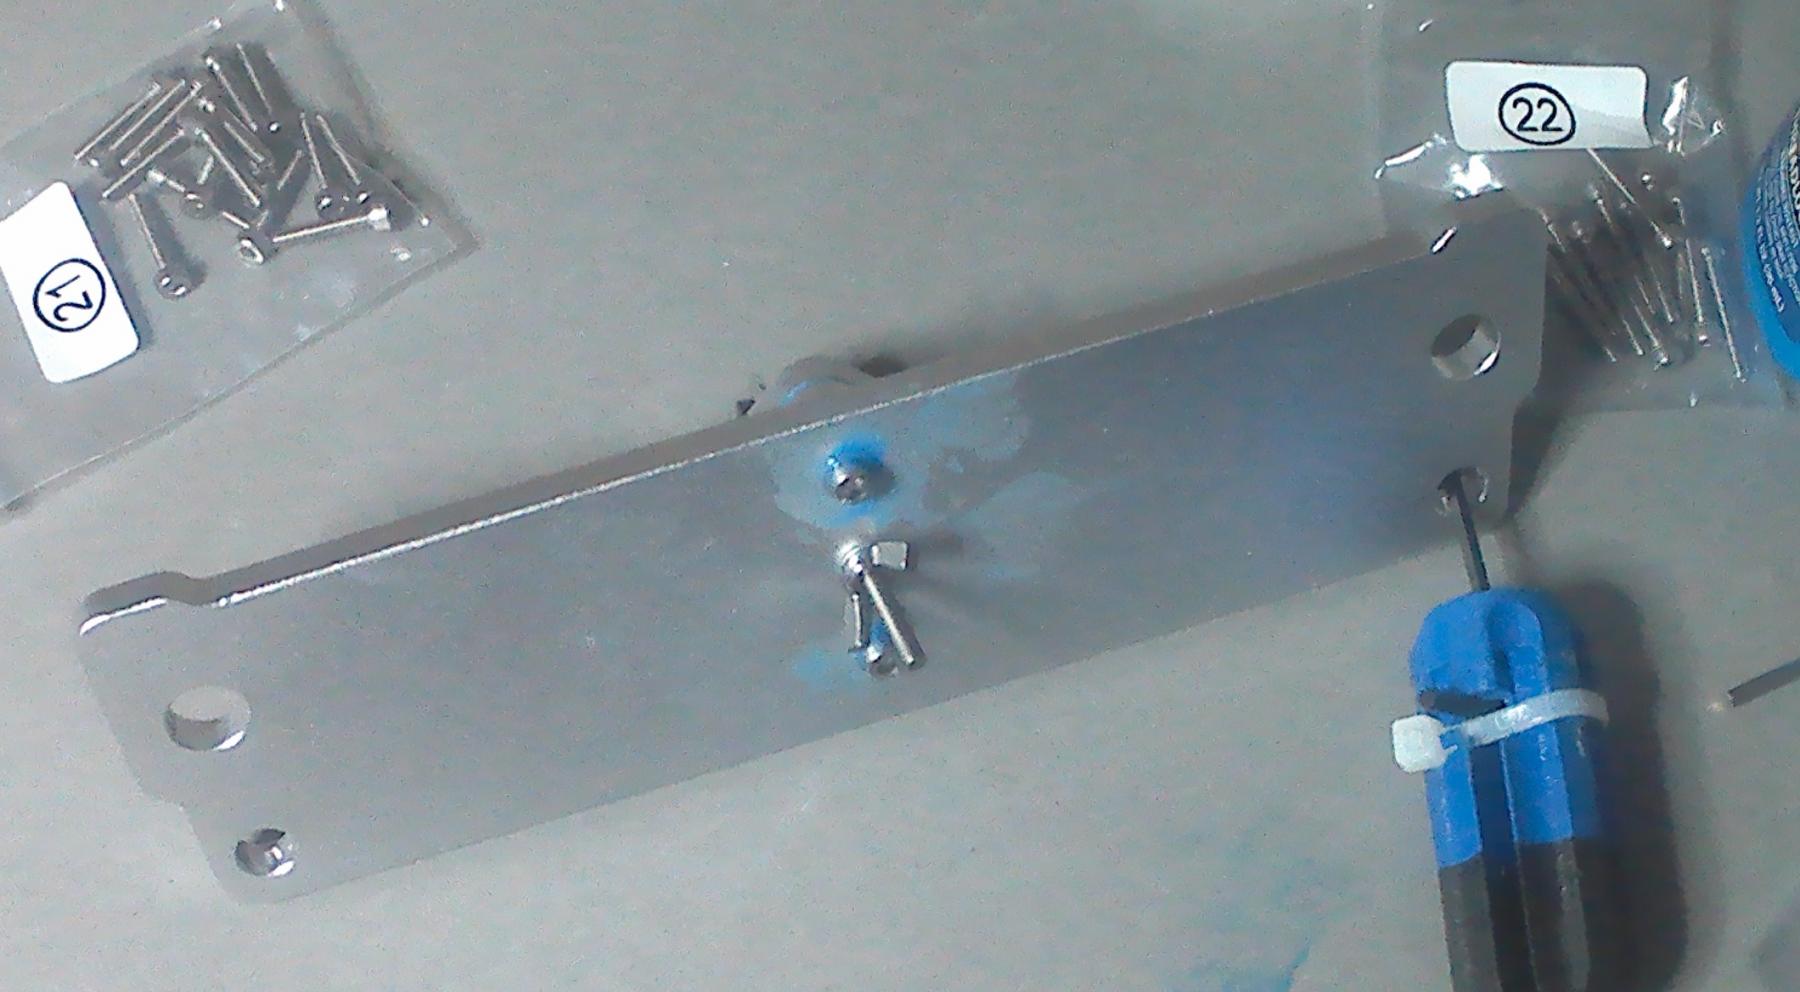
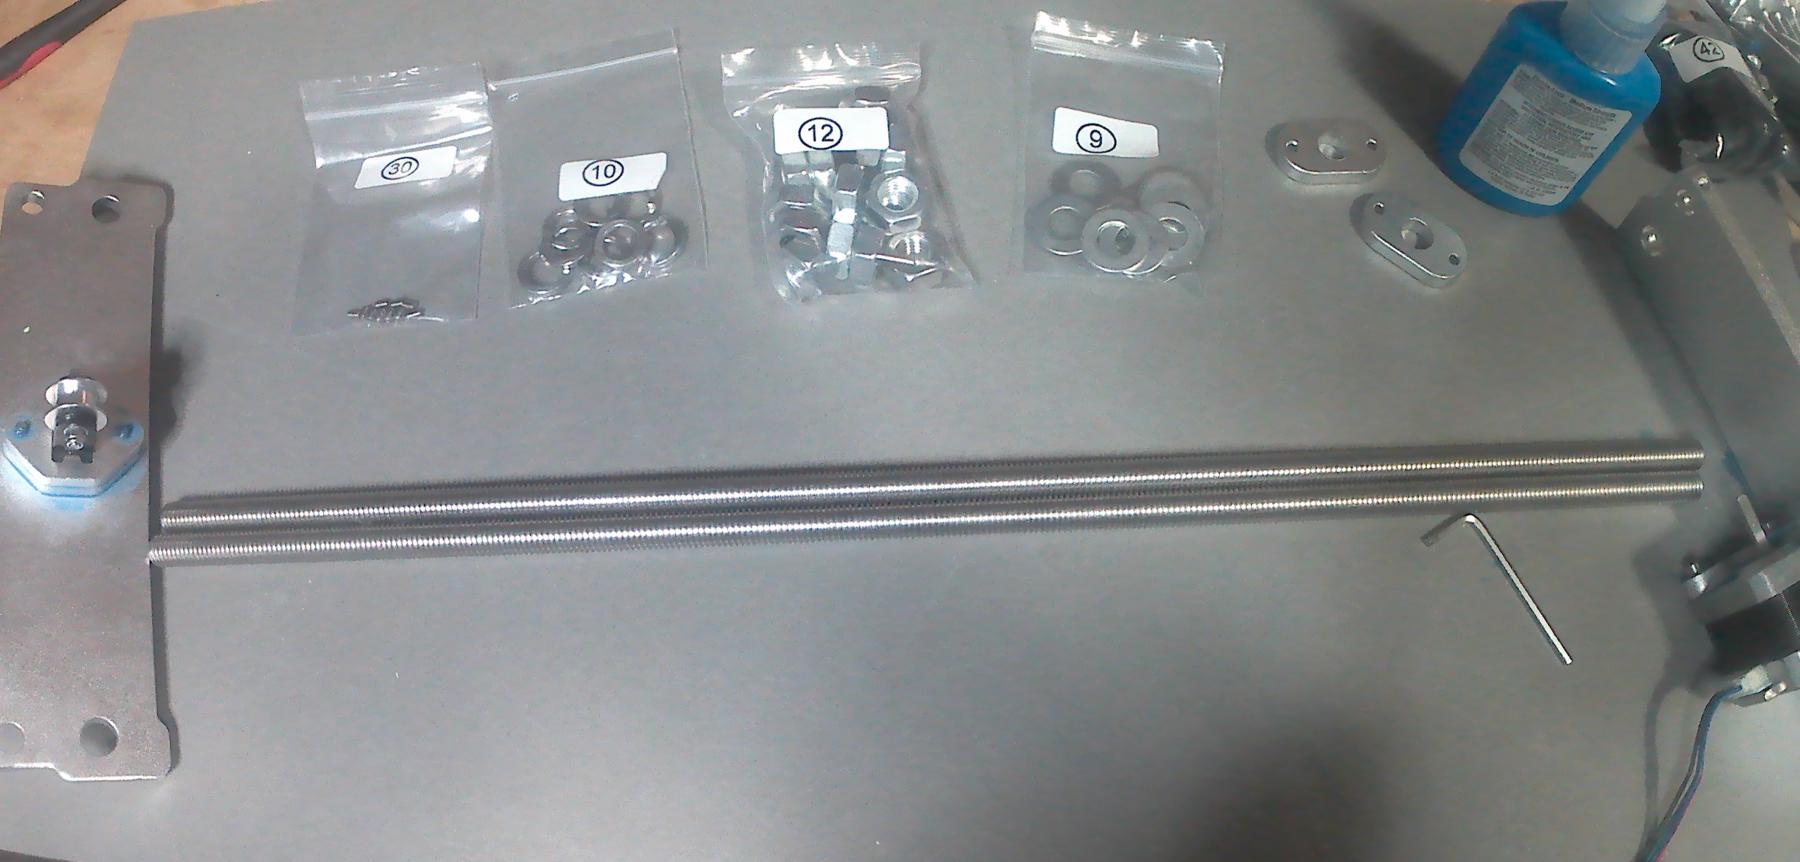
To do some work in a heated chamber, we were forced to seek out a temperature resistant printer kit. There are far more economical kits available these days, but sometimes projects get complicated. The blue stuff in the bottle is thread-lock adhesive, and prevents stuff working loose after hundreds of hours of shaking. ;-)
This Geeetech i3 all-metal frame has several issues that need workarounds, and is not as good as the real Prusa i3 MK3 kit for a beginner.
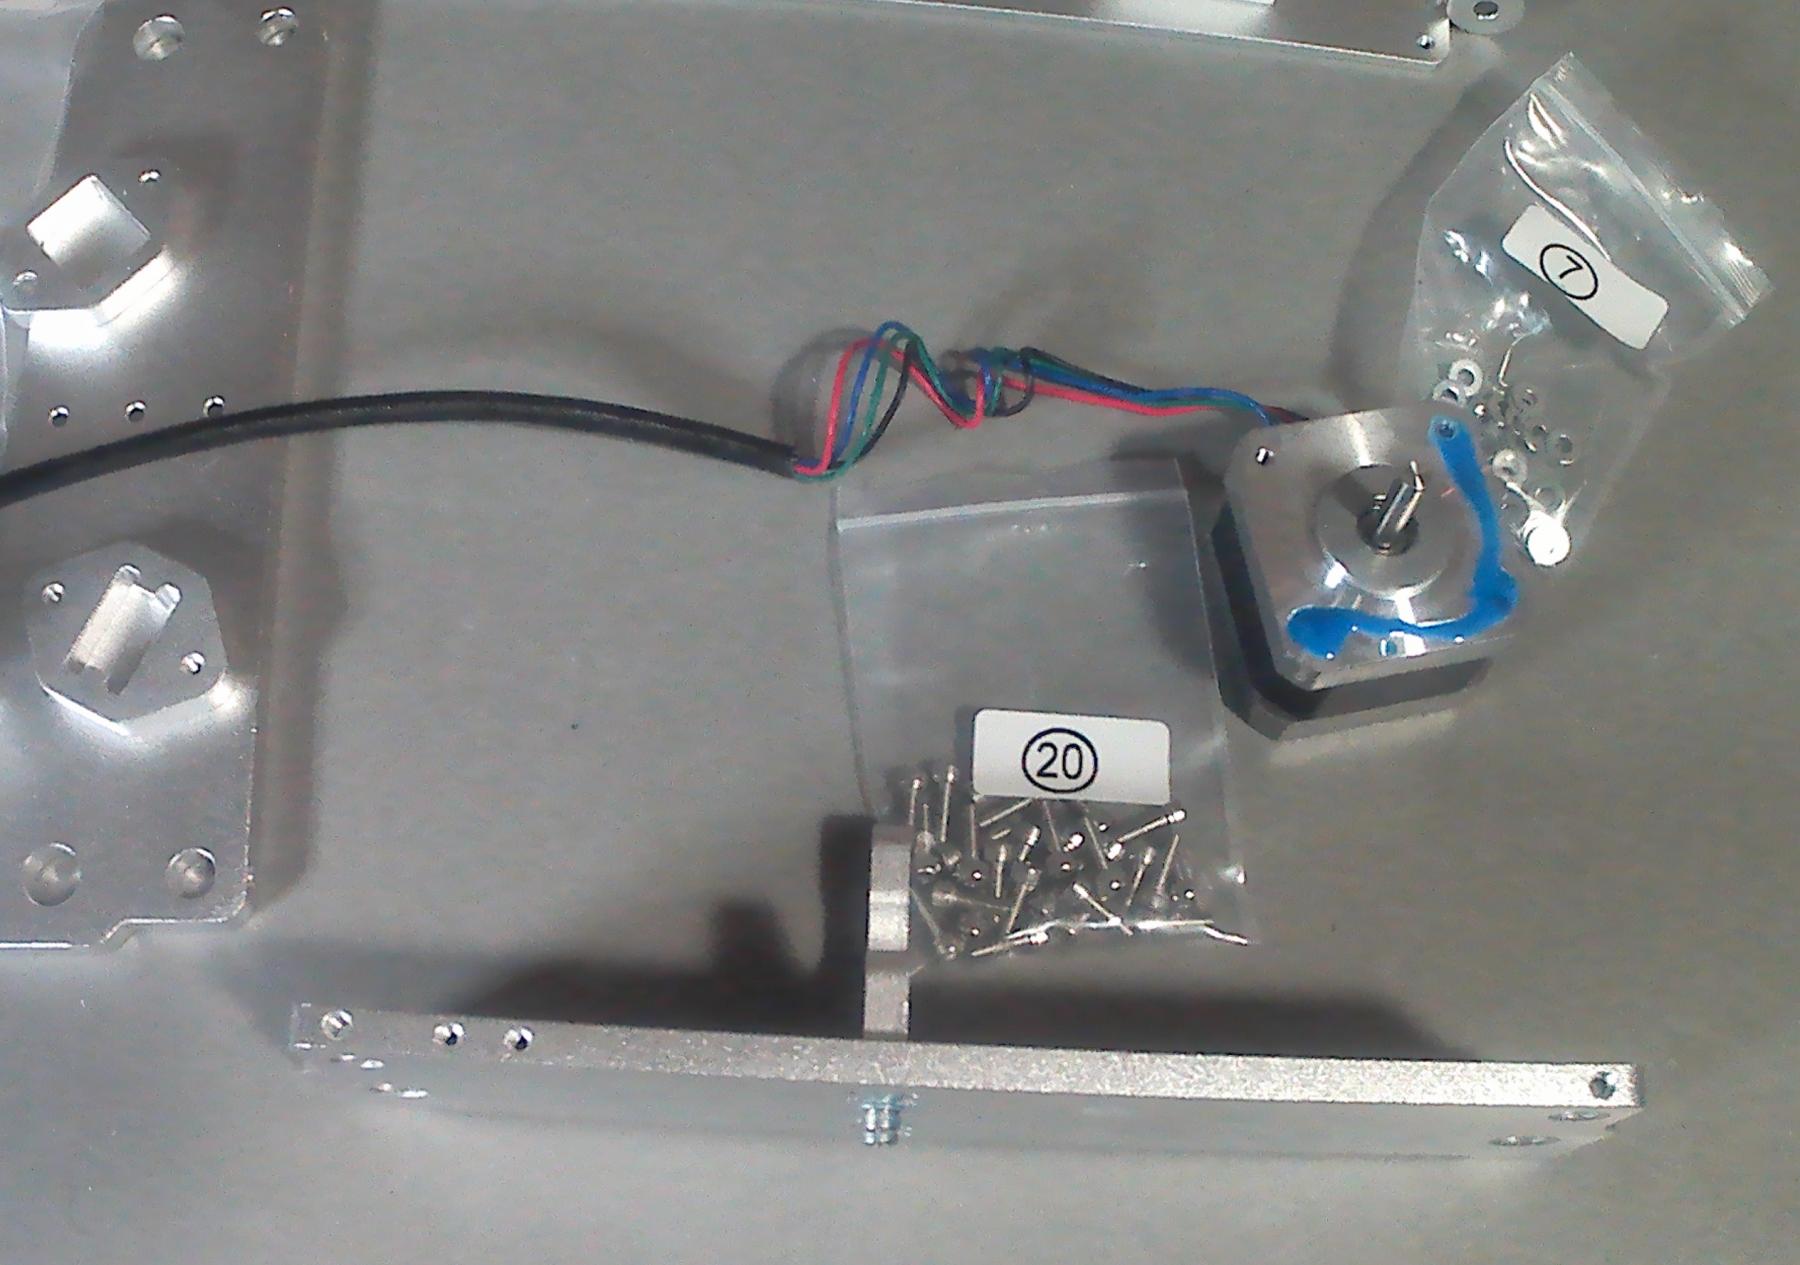
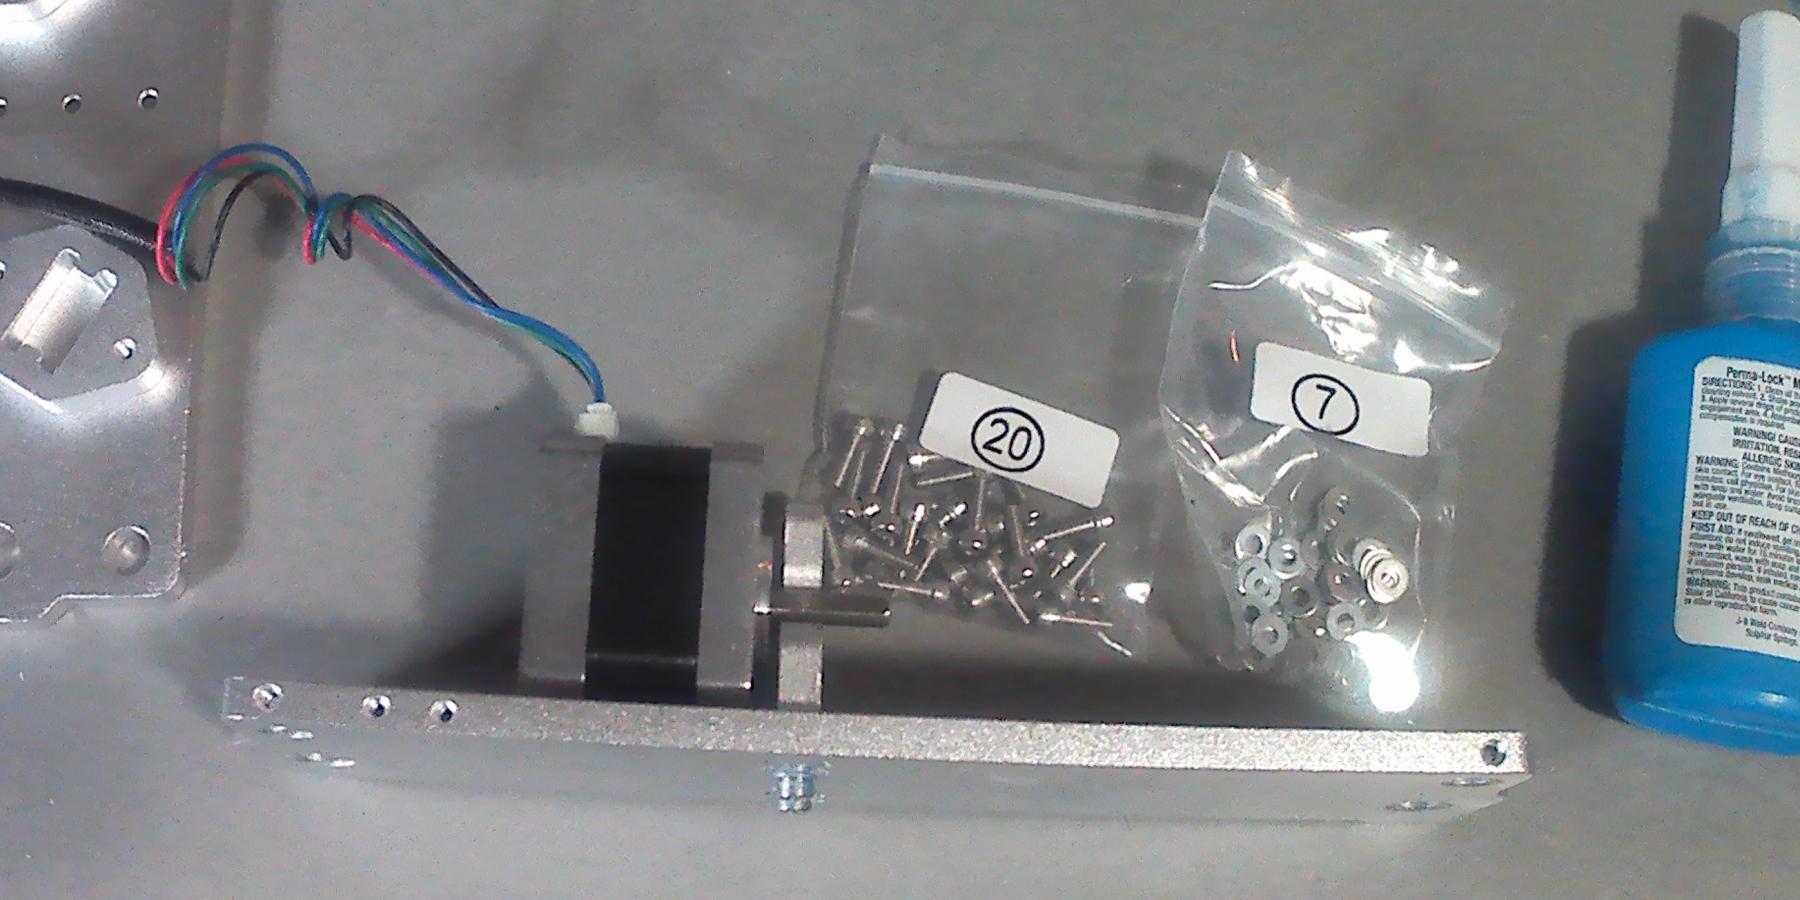
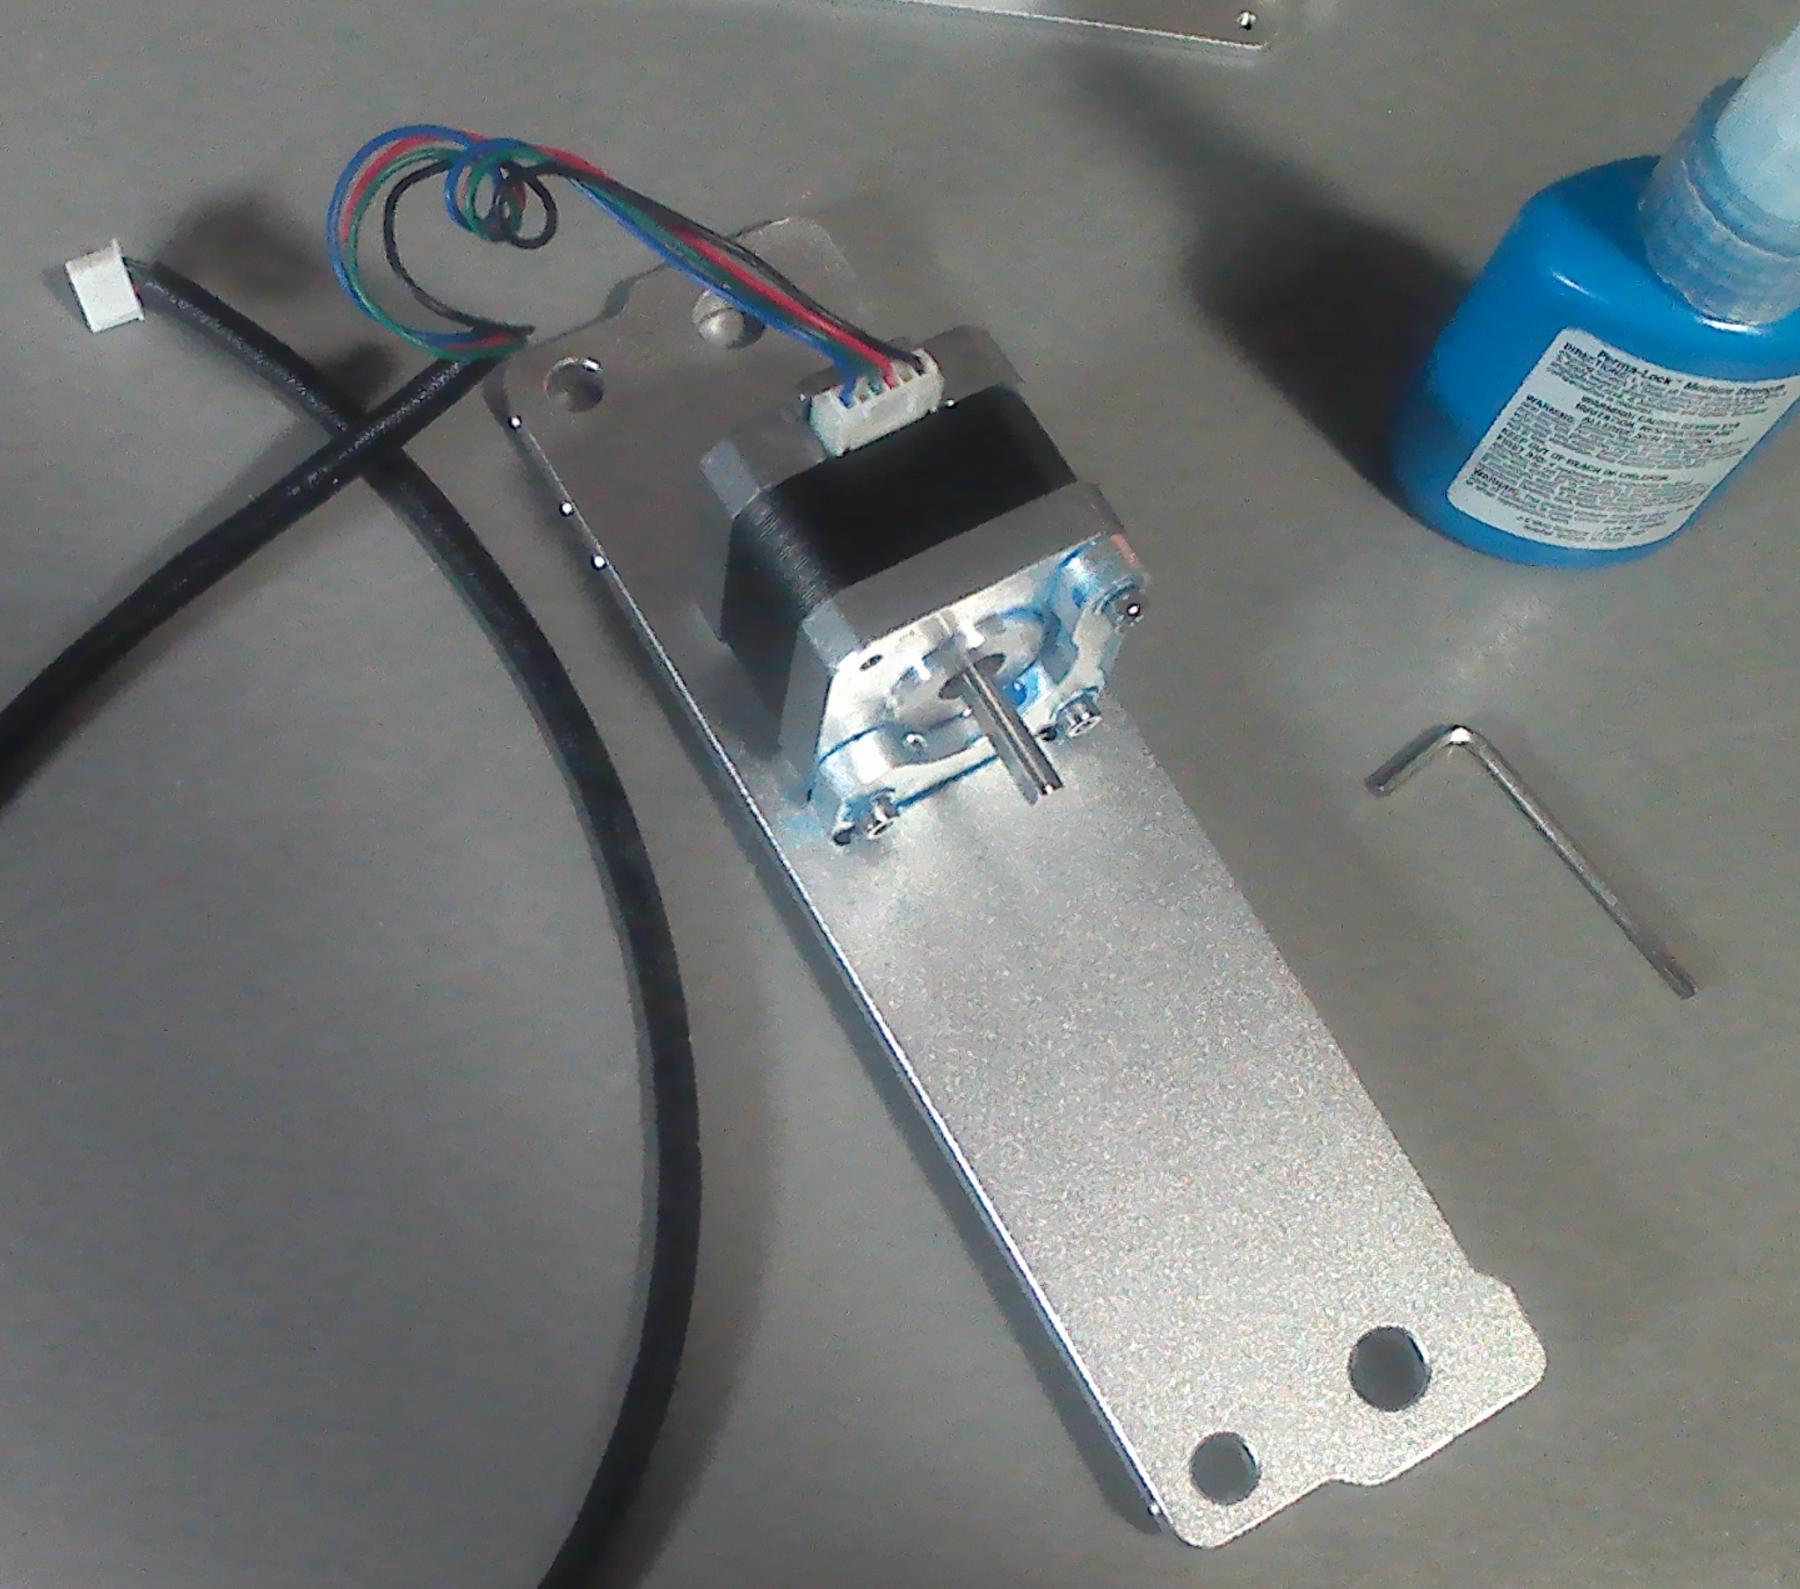
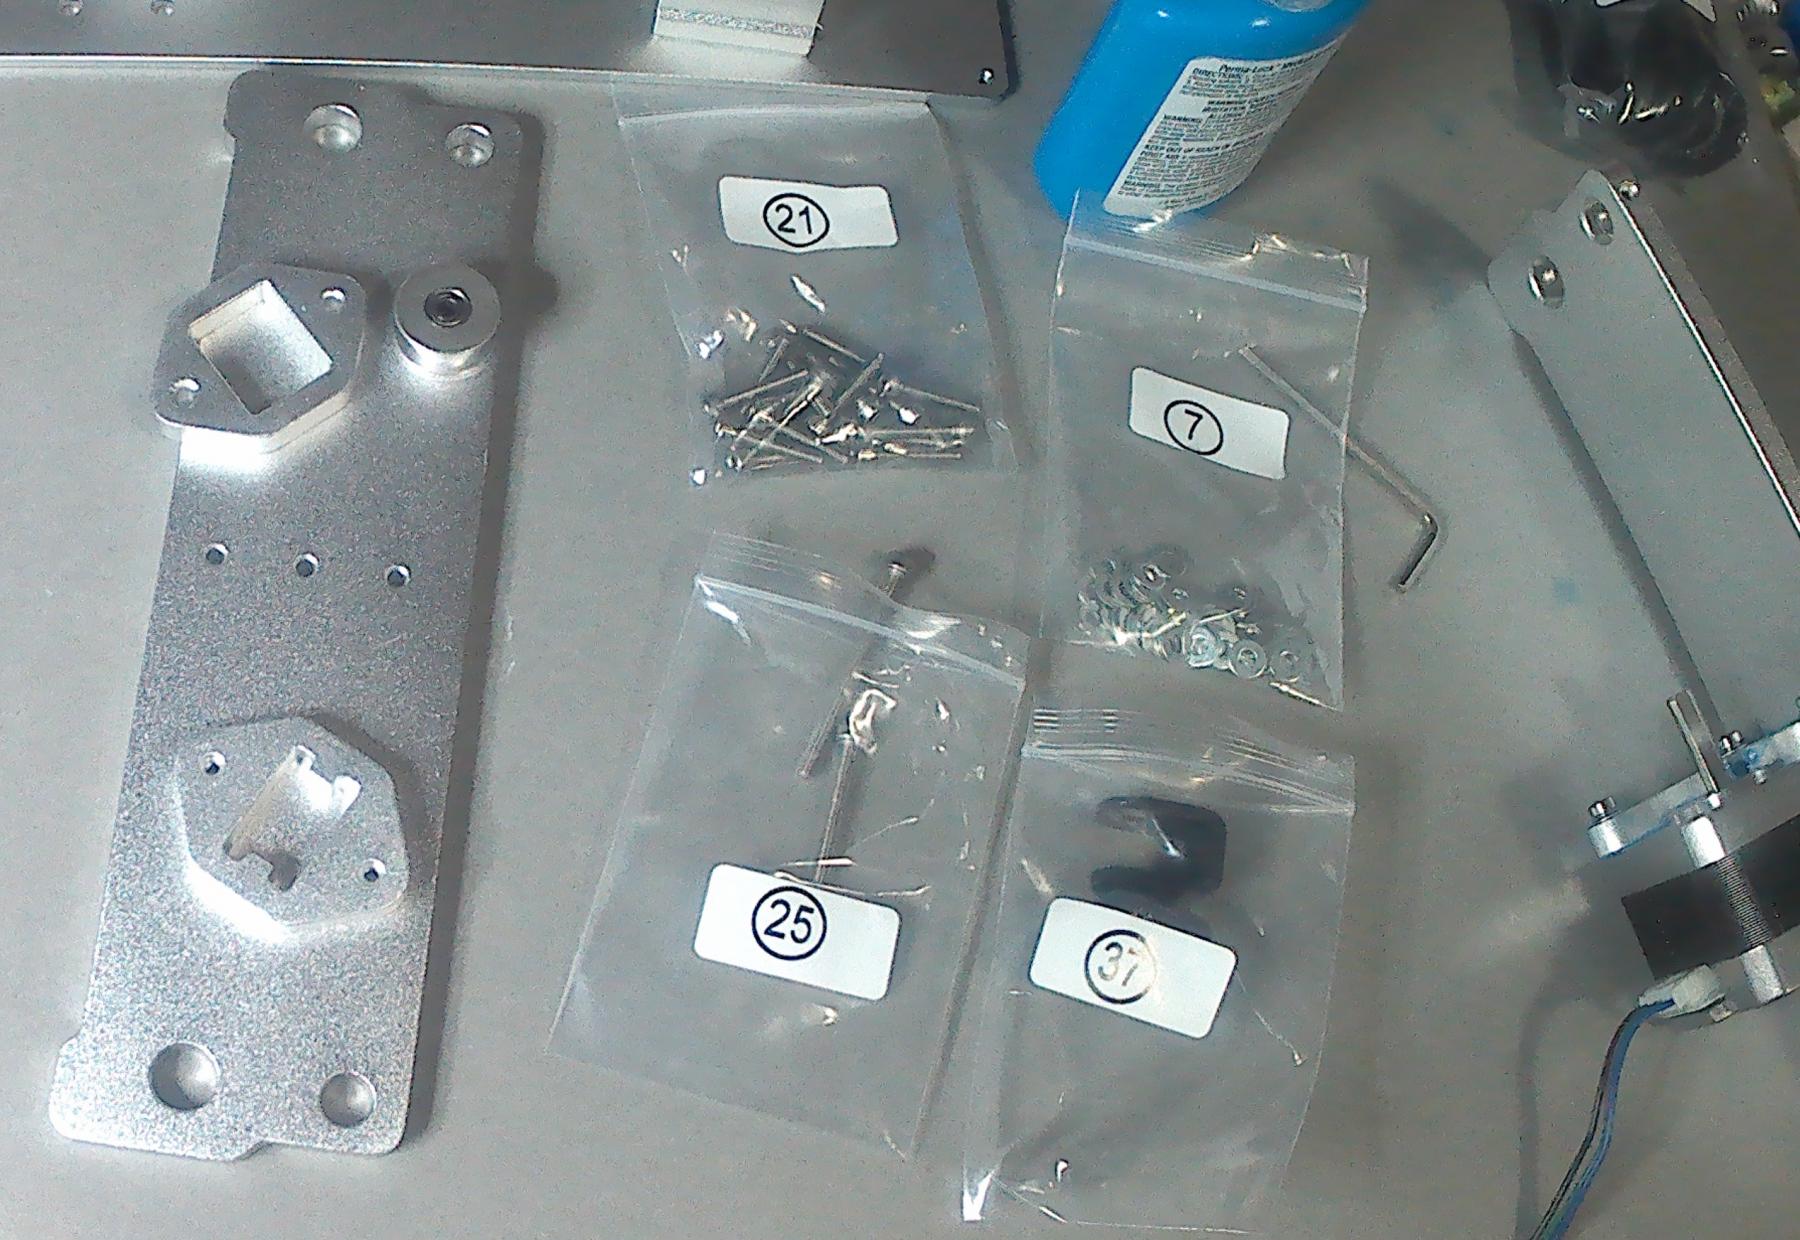
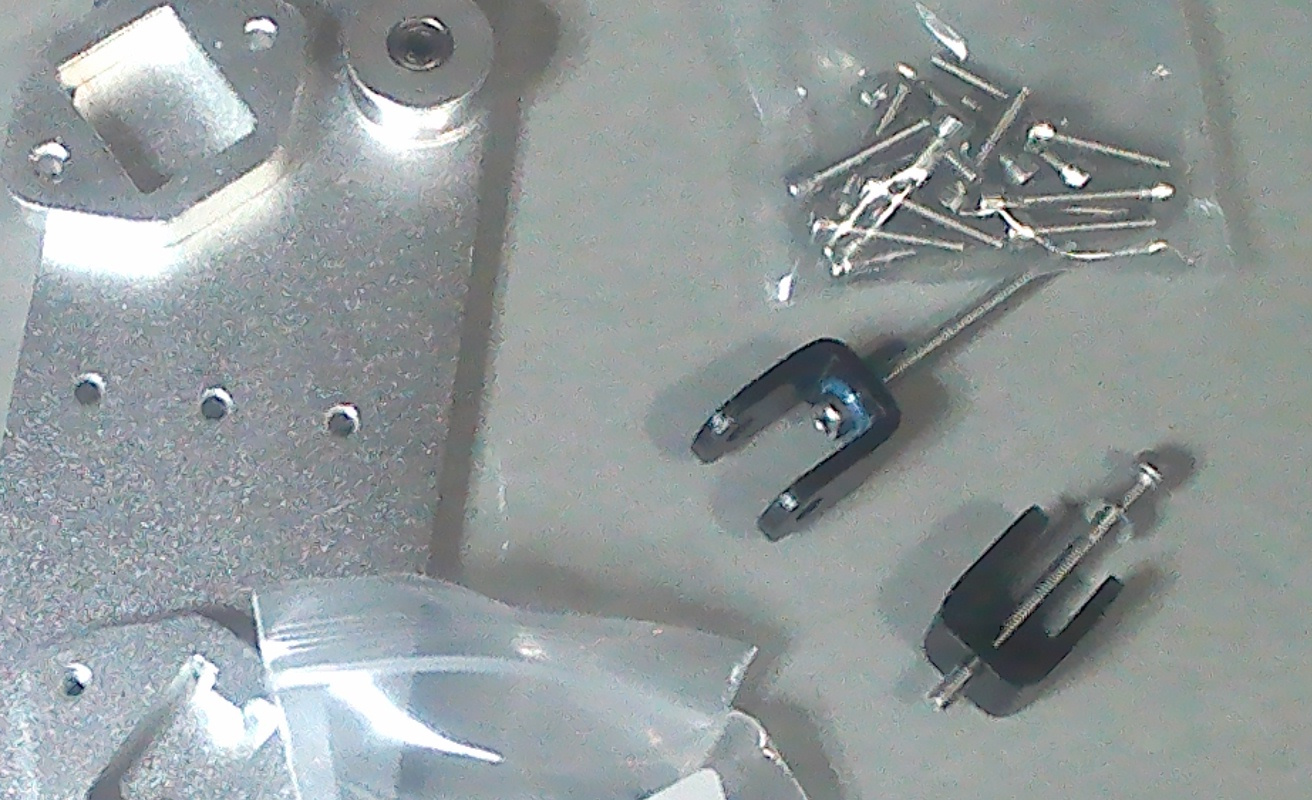
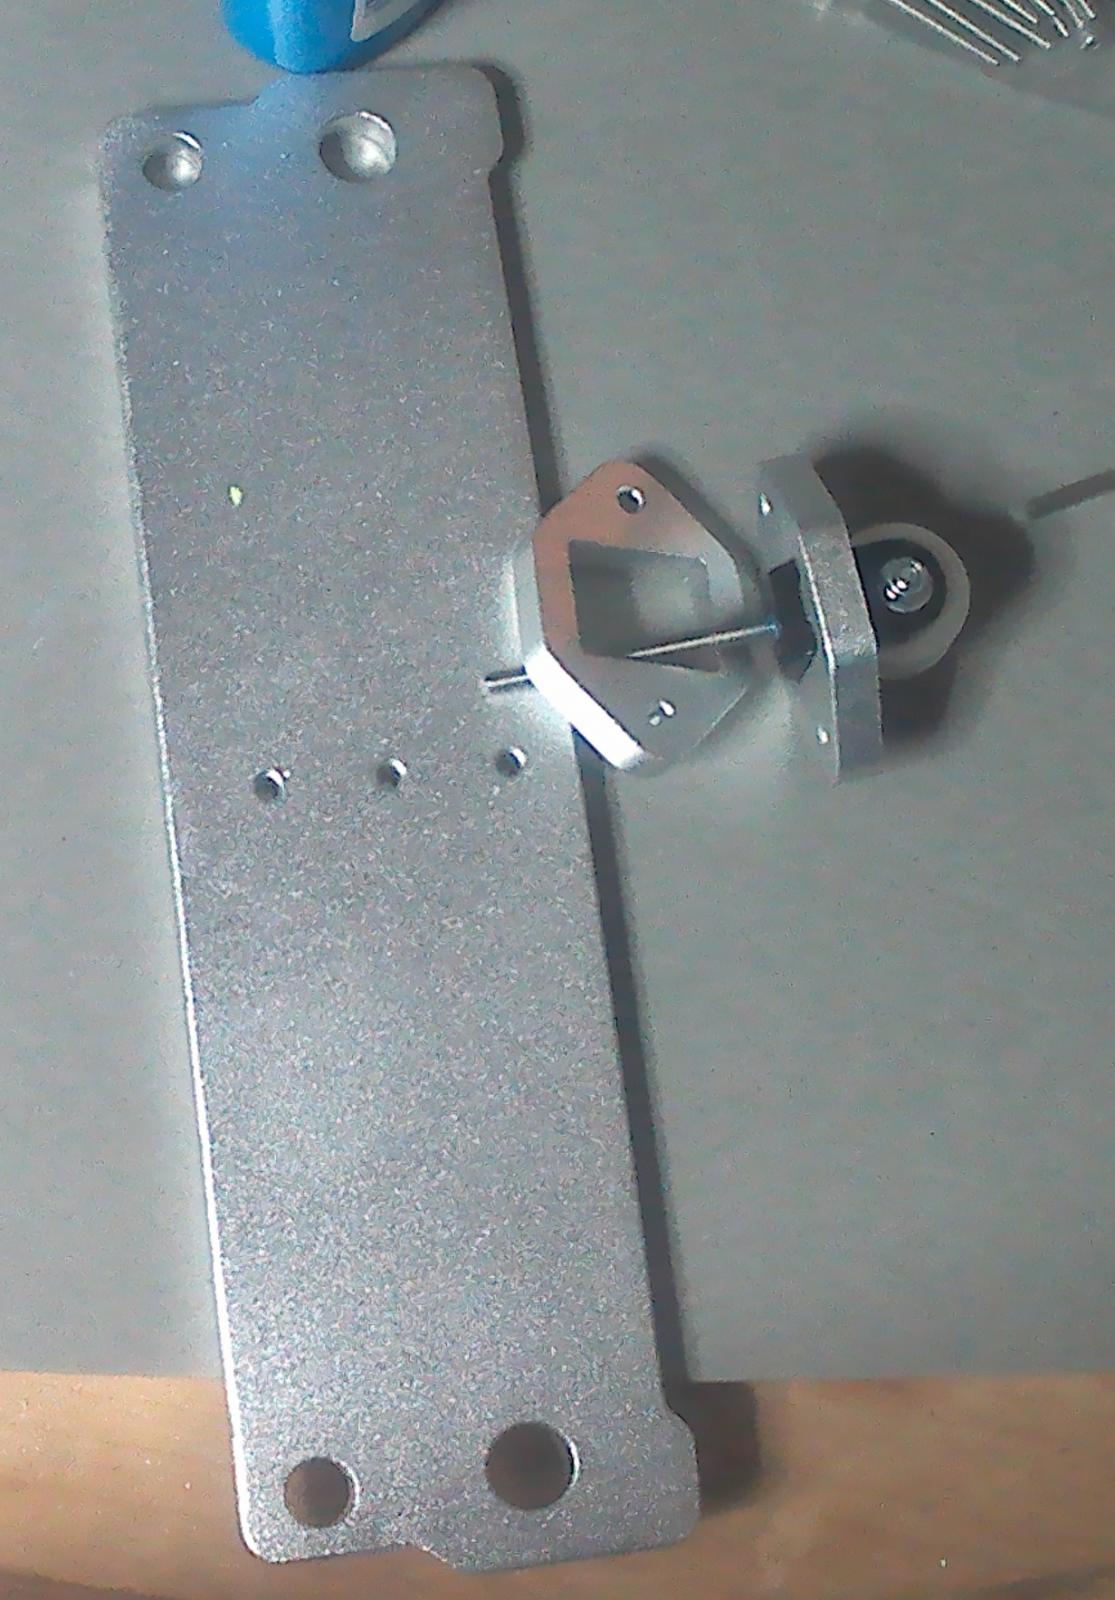
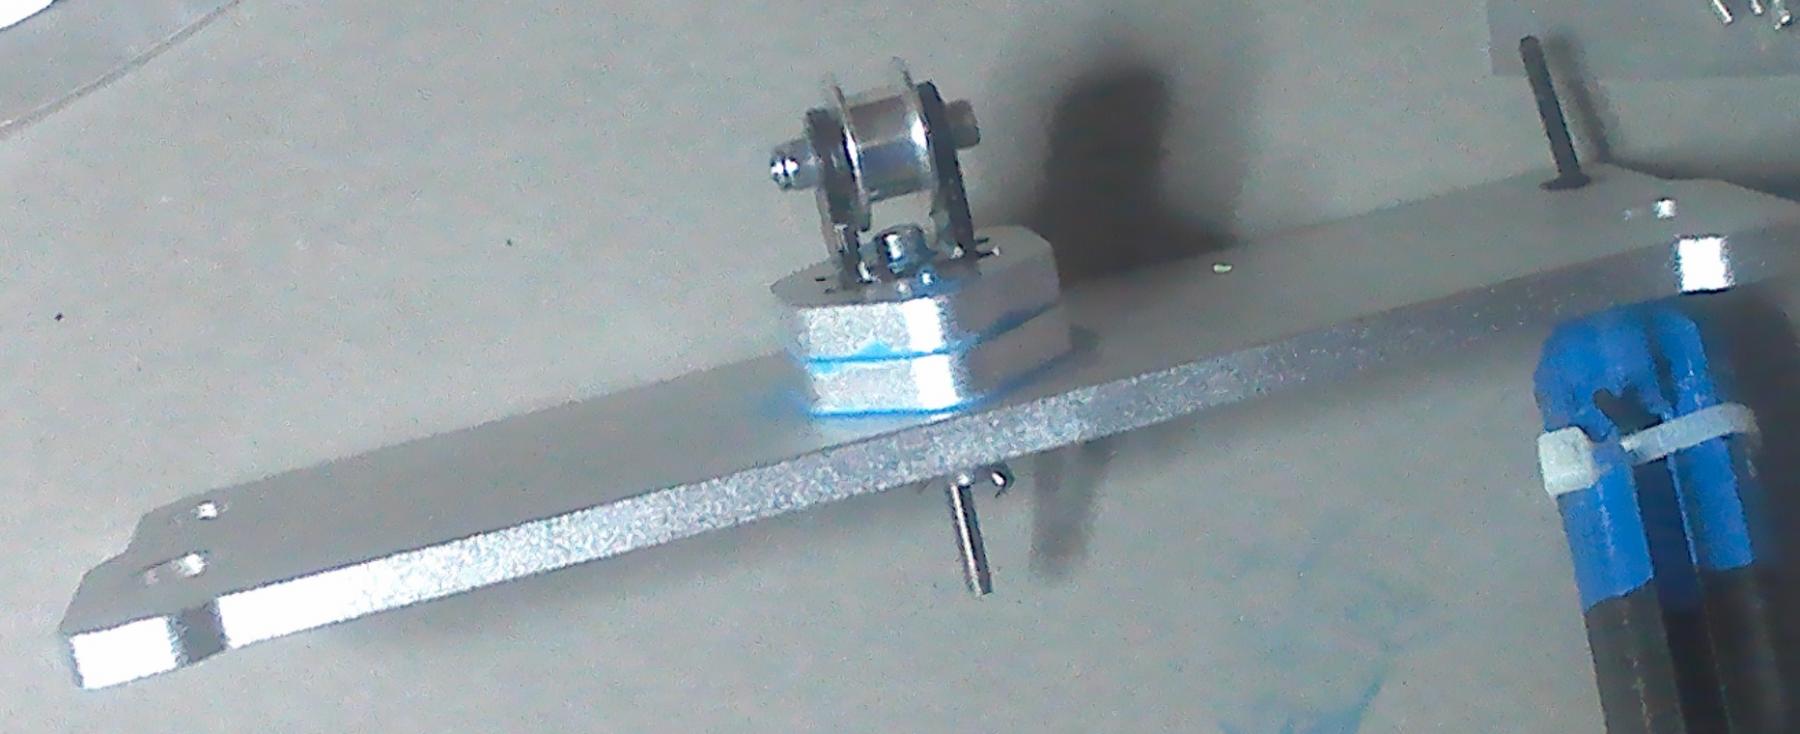
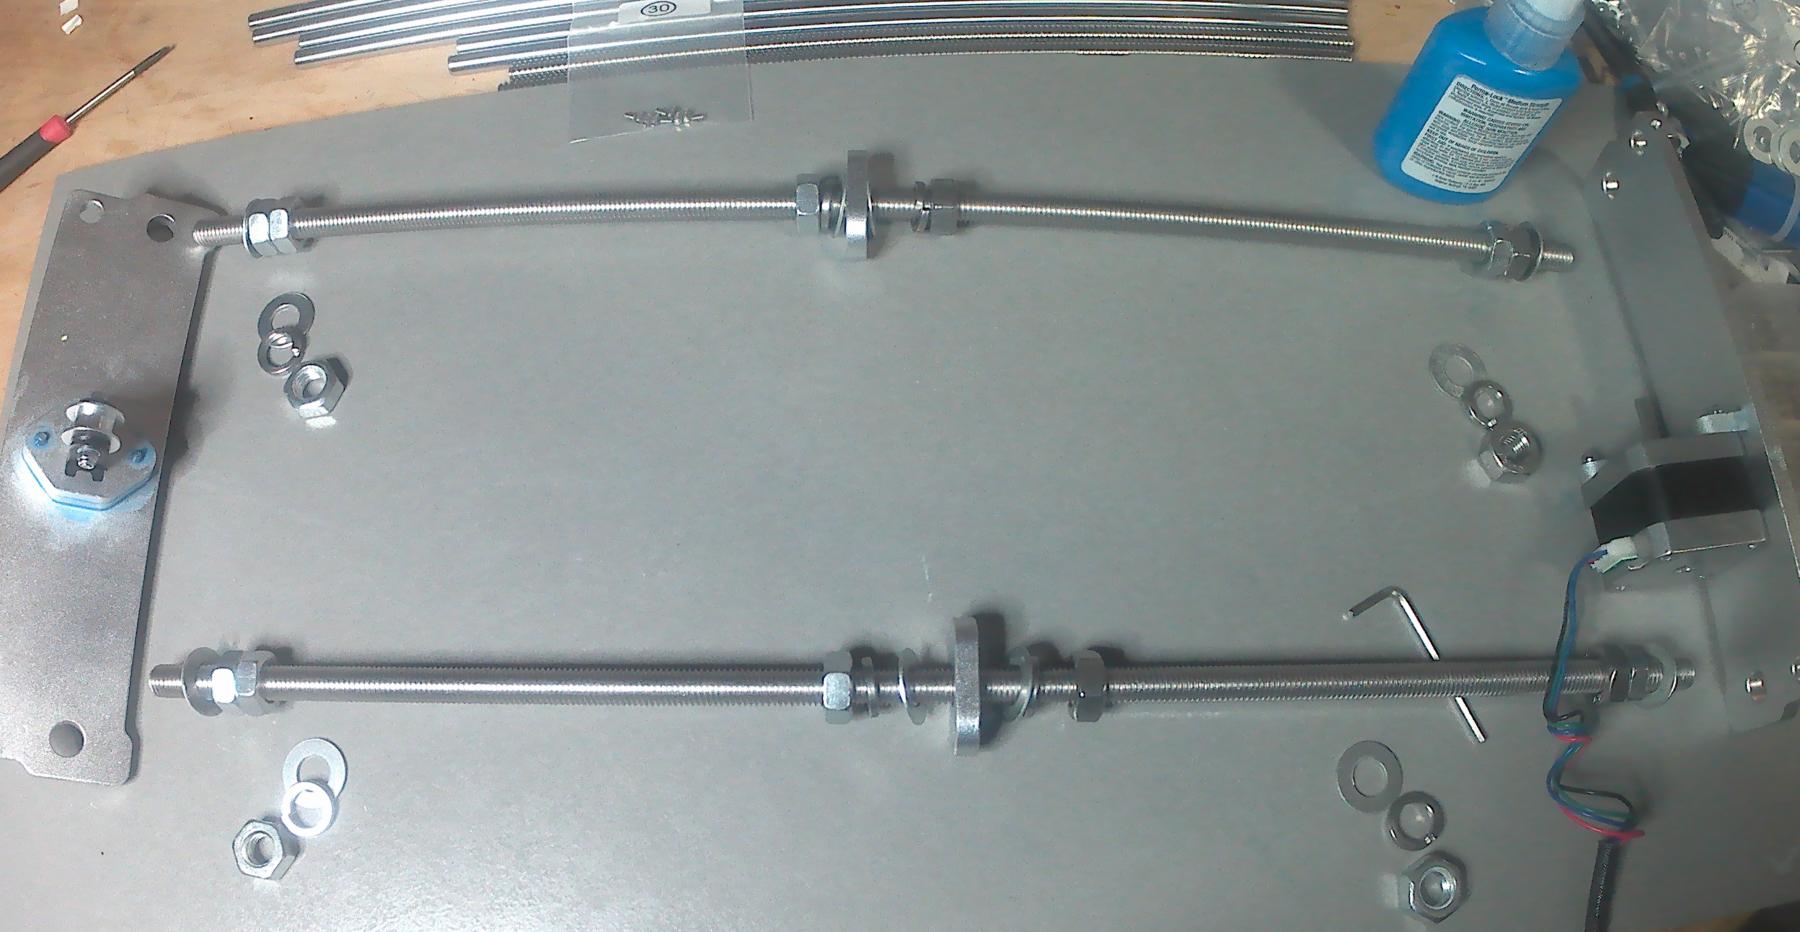
Y-axis Build:
 |
 |
 |
 |
 |
 |
 |
 |
 |
 |
 |
 |
 |
 |
 |
 |
 |
 |
 |
 |
 |
 |
 |
 |
 |
 |
 |
 |
 |
 |
 |
 |
 |
 |
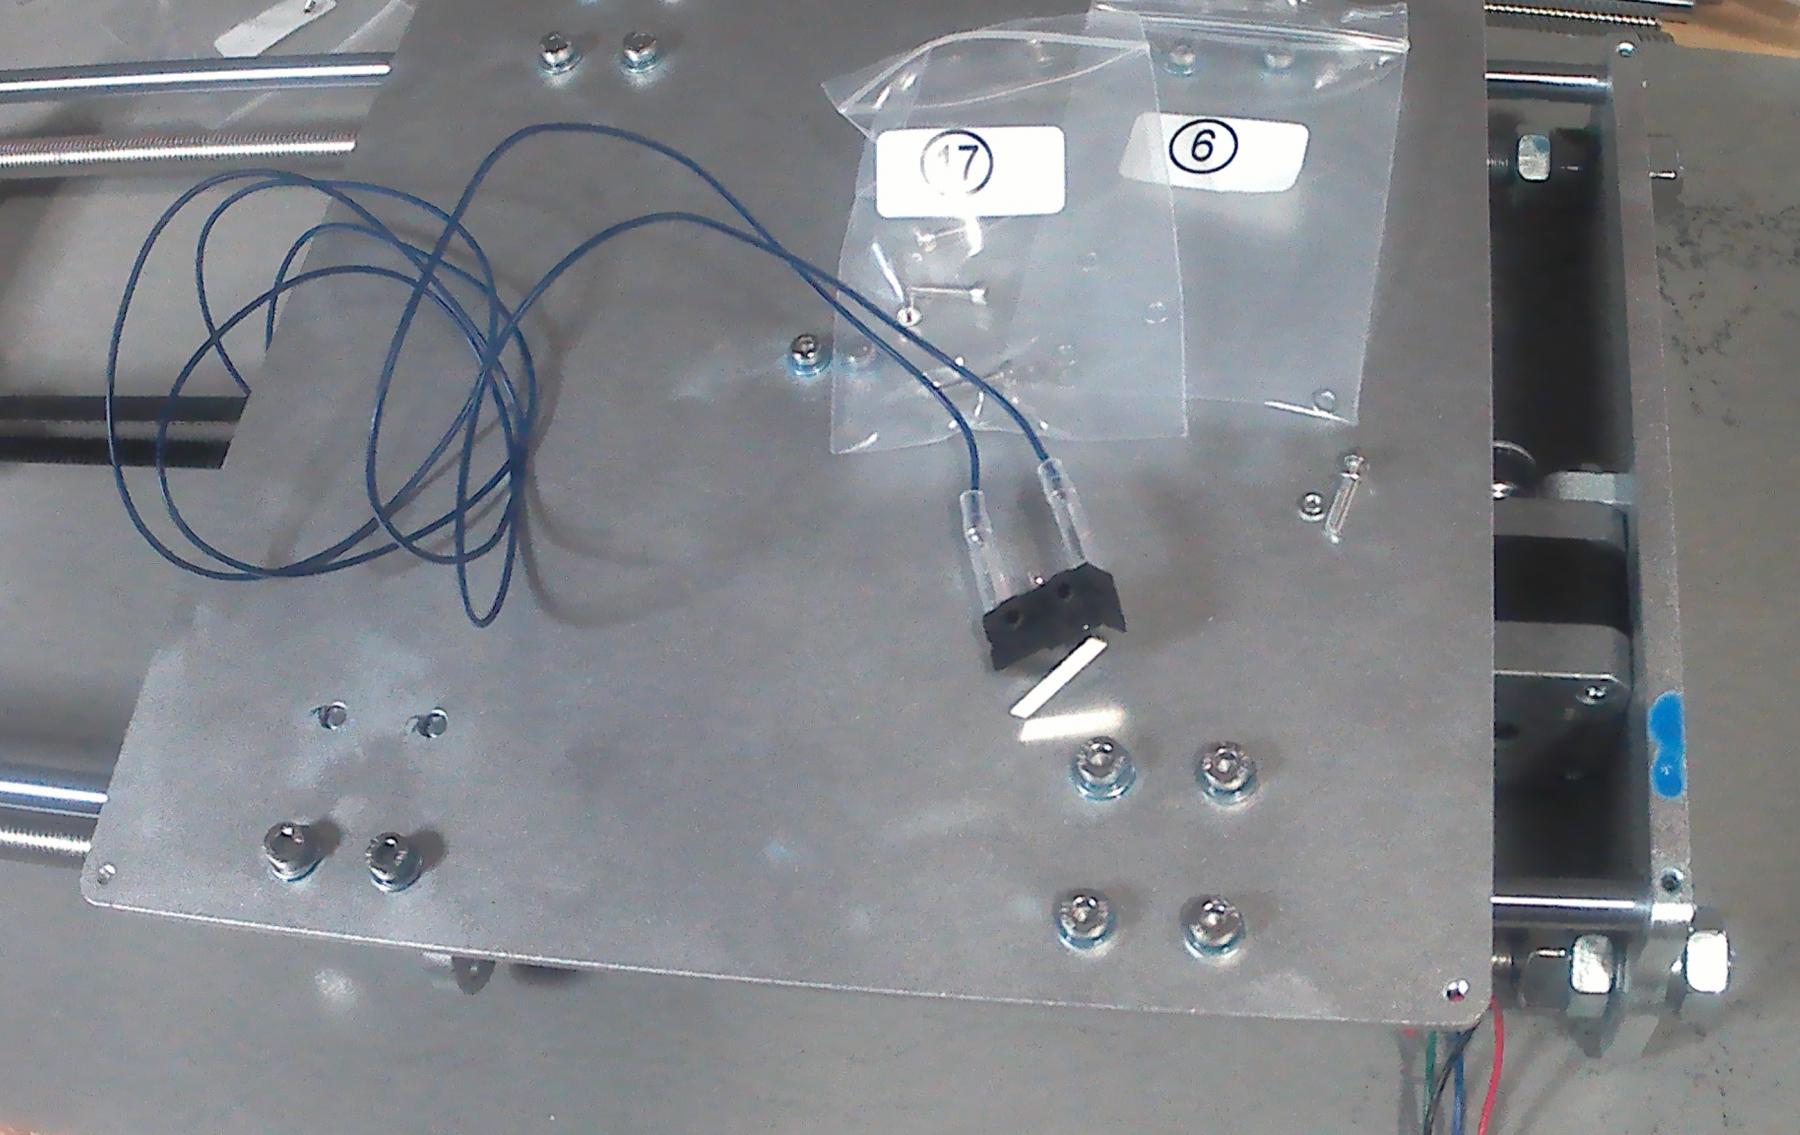
Optional X-carriage
This step will depend on what hardware is mounted on the printer, and can be skipped if using another extruder style.
XZ-Axis
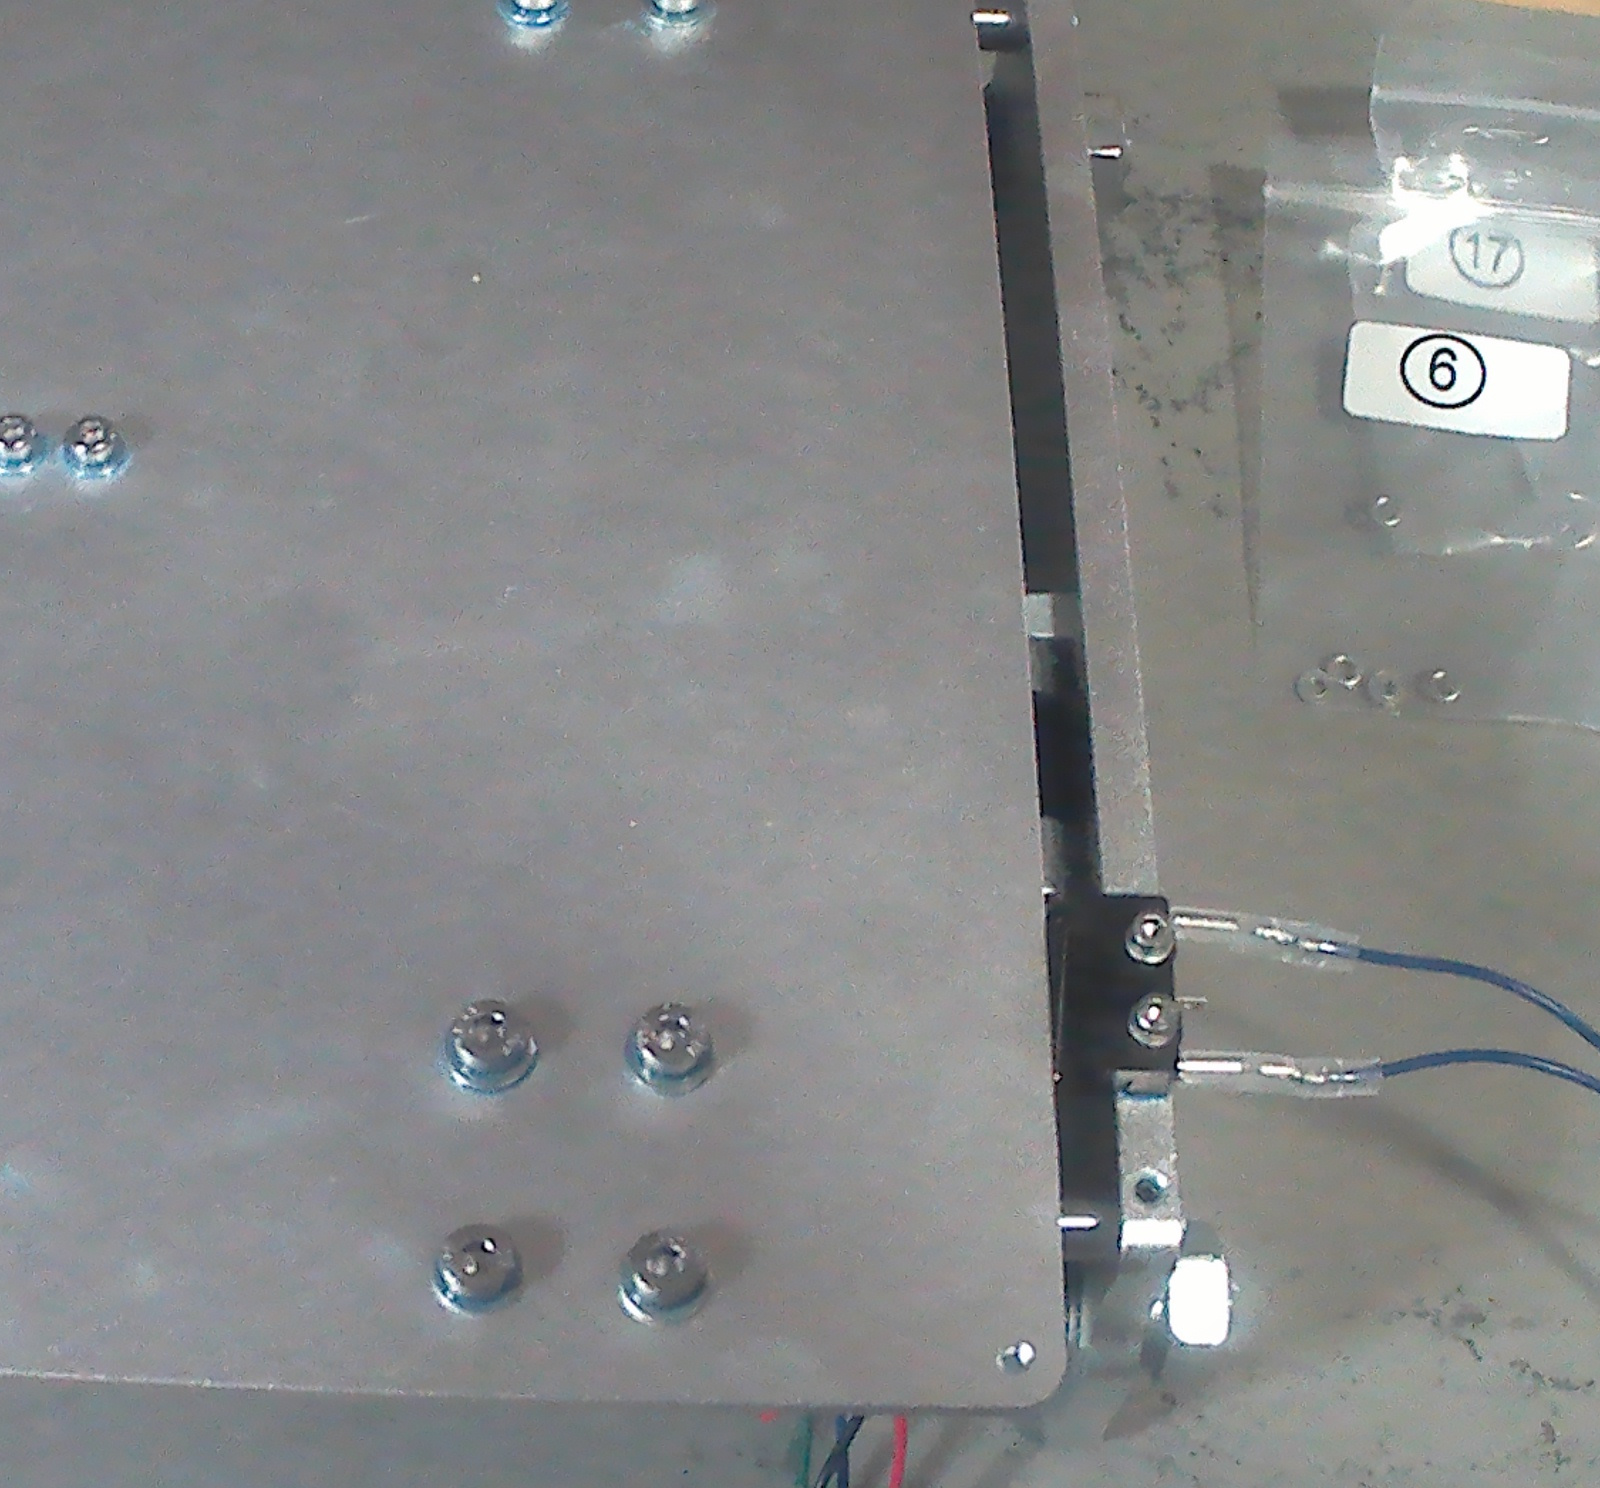
Heater Bed
Z-axis binding fix and wear in how-to...
In order to support the full travel of the x-axis gantry along z-axis, I was forced to remove several mounting screws from the brass follower-nuts and enlarge the holes with Emery paper (thick paint on brackets prevented self-alignment on shaft).
Only a single socket cap screw remained on the inner most follower-nut mounting holes, and was loosened to allow the brass-nut to shift around. Unfortunately, this step also somewhat allowed it to slightly rotate too, but doesn't seem to significantly affect the layer height travel distance.
I then physically lifted the gantry up to allow the brass nuts to unbind (will sit skewed for awhile), and naturally re-align on the lightly oiled lead crews. Note, the brass nuts will both not sit flush to the mounting bracket at first, and will take about 100 hours of running the wear-in the brass.
After several weeks of incrementally tightening the brass follower nut socket cap screws down on each side of the x-axis gantry, they will eventually sit flush against the z-axis brackets. At that time, one may add additional mounting screws to improve z-axis positioning if you can traverse the z-axis without binding.
One must continue to oil the lead screws, bearings, and axles with detergent-free oils during this process to flush metal dust off the contact surfaces during the wear-in process. I use a few drops of detergent-free non-synthetic 5W30 before every print, and tend to avoid disulfide lubes in general.
Z-axis lead-screw loud rattling/hum noise
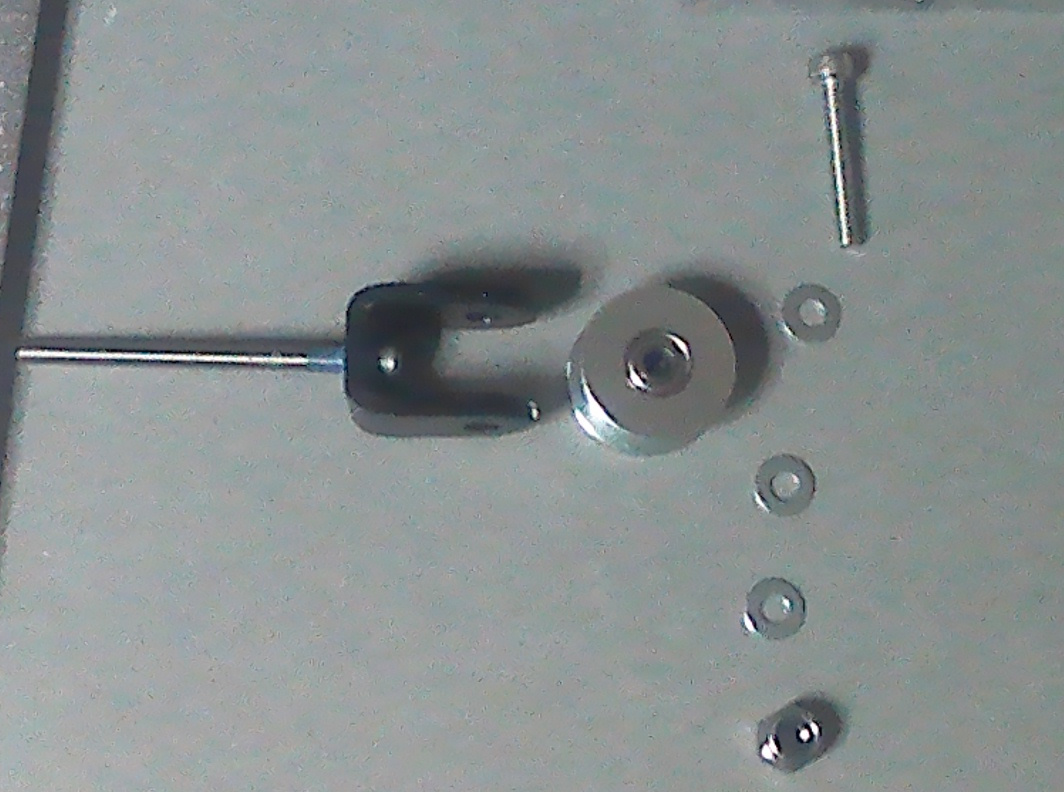
All metal kits usually use the top lead-screw bracket as a bushing too, and a bit of grease should be used. After about 300 hours of use (the brass follower-nuts have worn-in), you may print this clip to help reduce the vibration related noise. Also, seating the entire printer atop of 4 soft foam blocks on a ceramic floor-tile will reduce most of the motor noise to negligible levels. Note a tension bolt is not necessary yet for this setup.
Download OpenSCAD/STL files